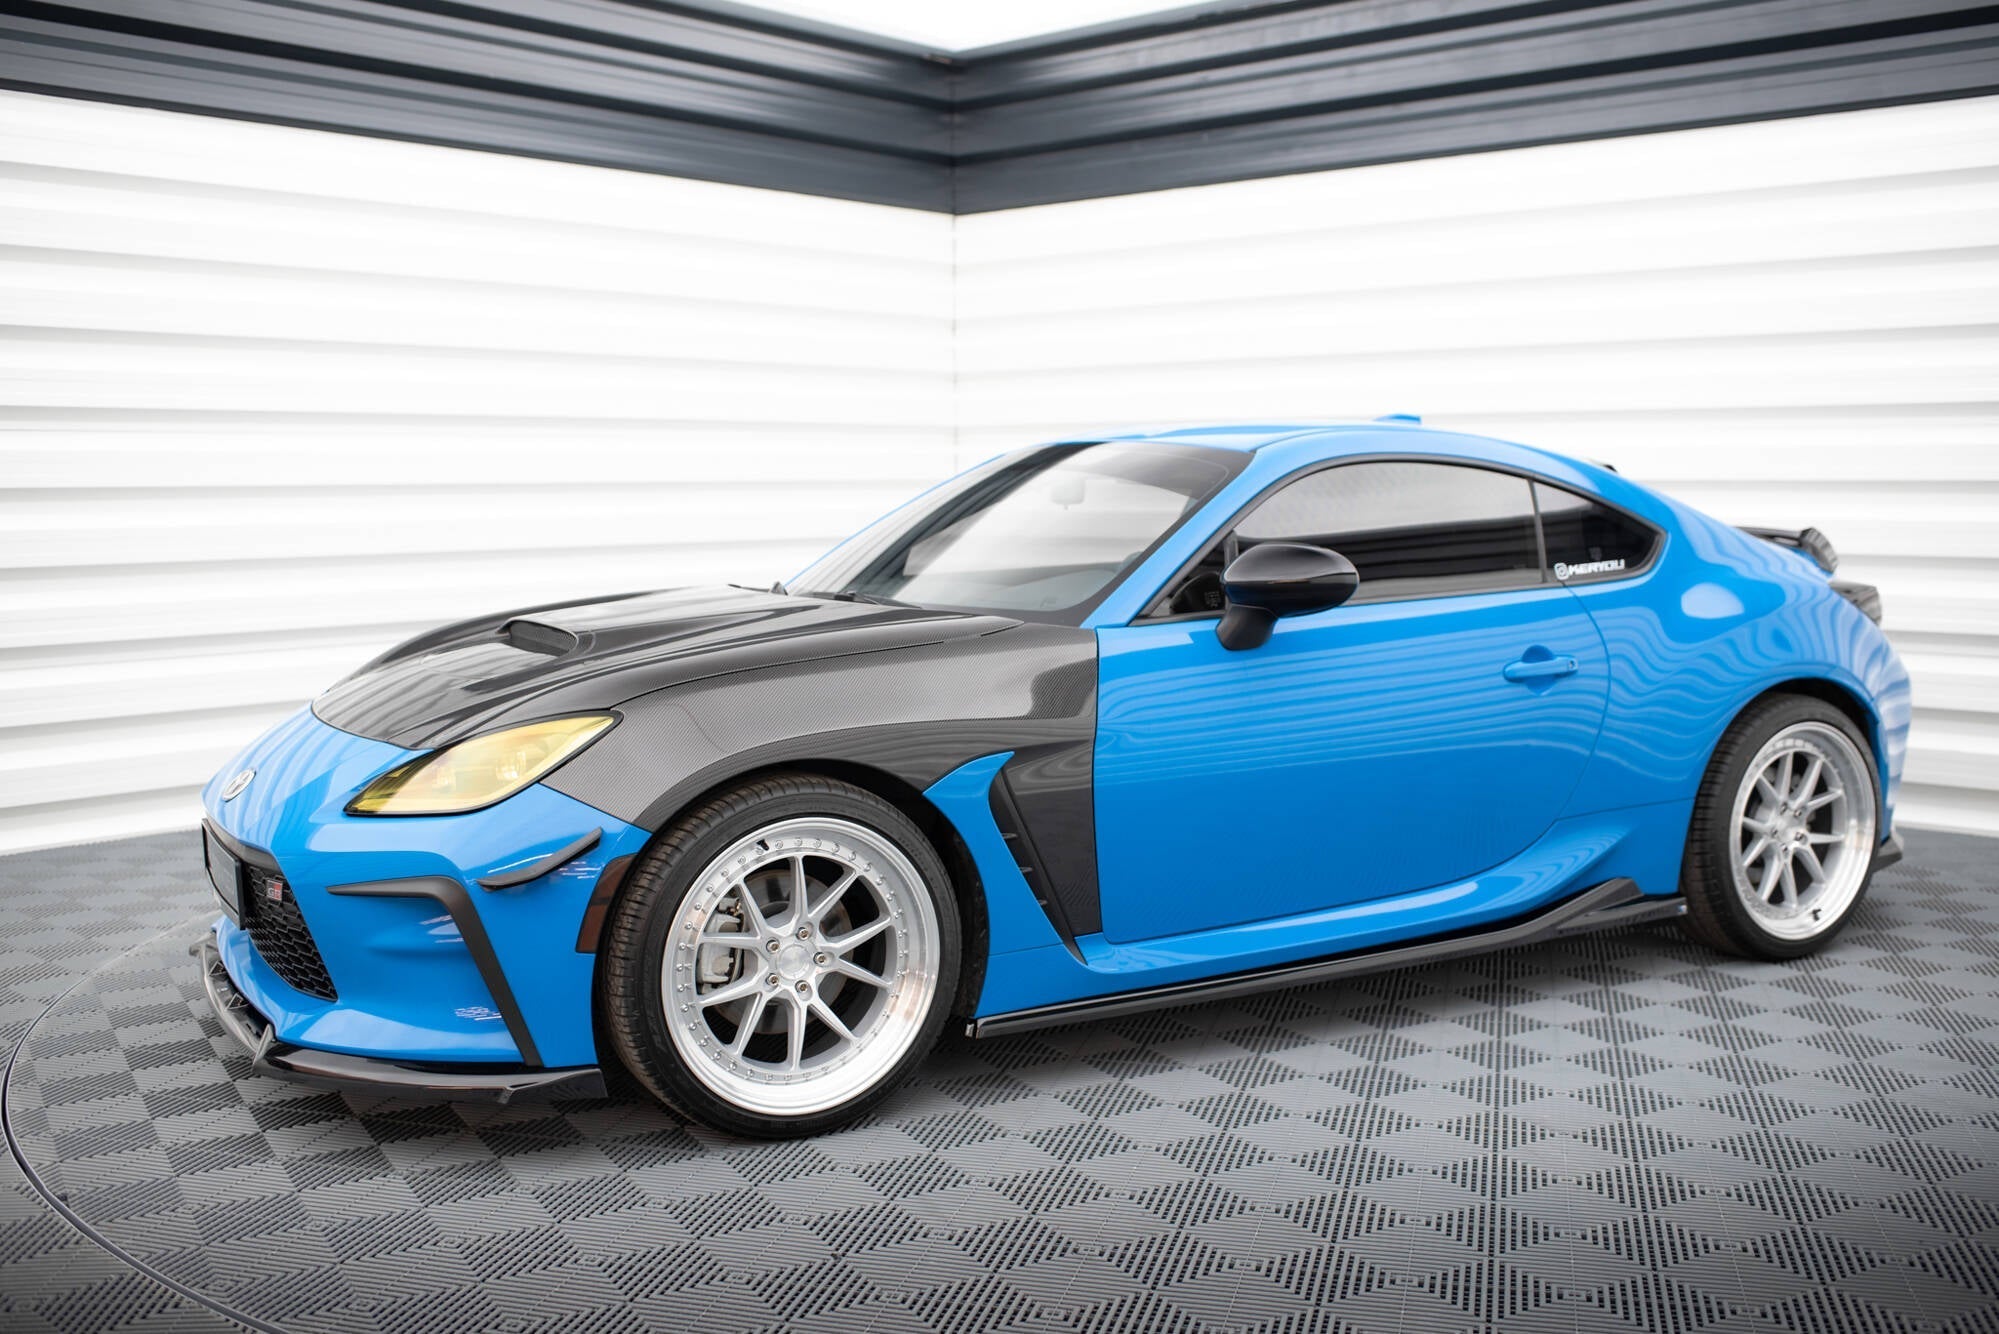
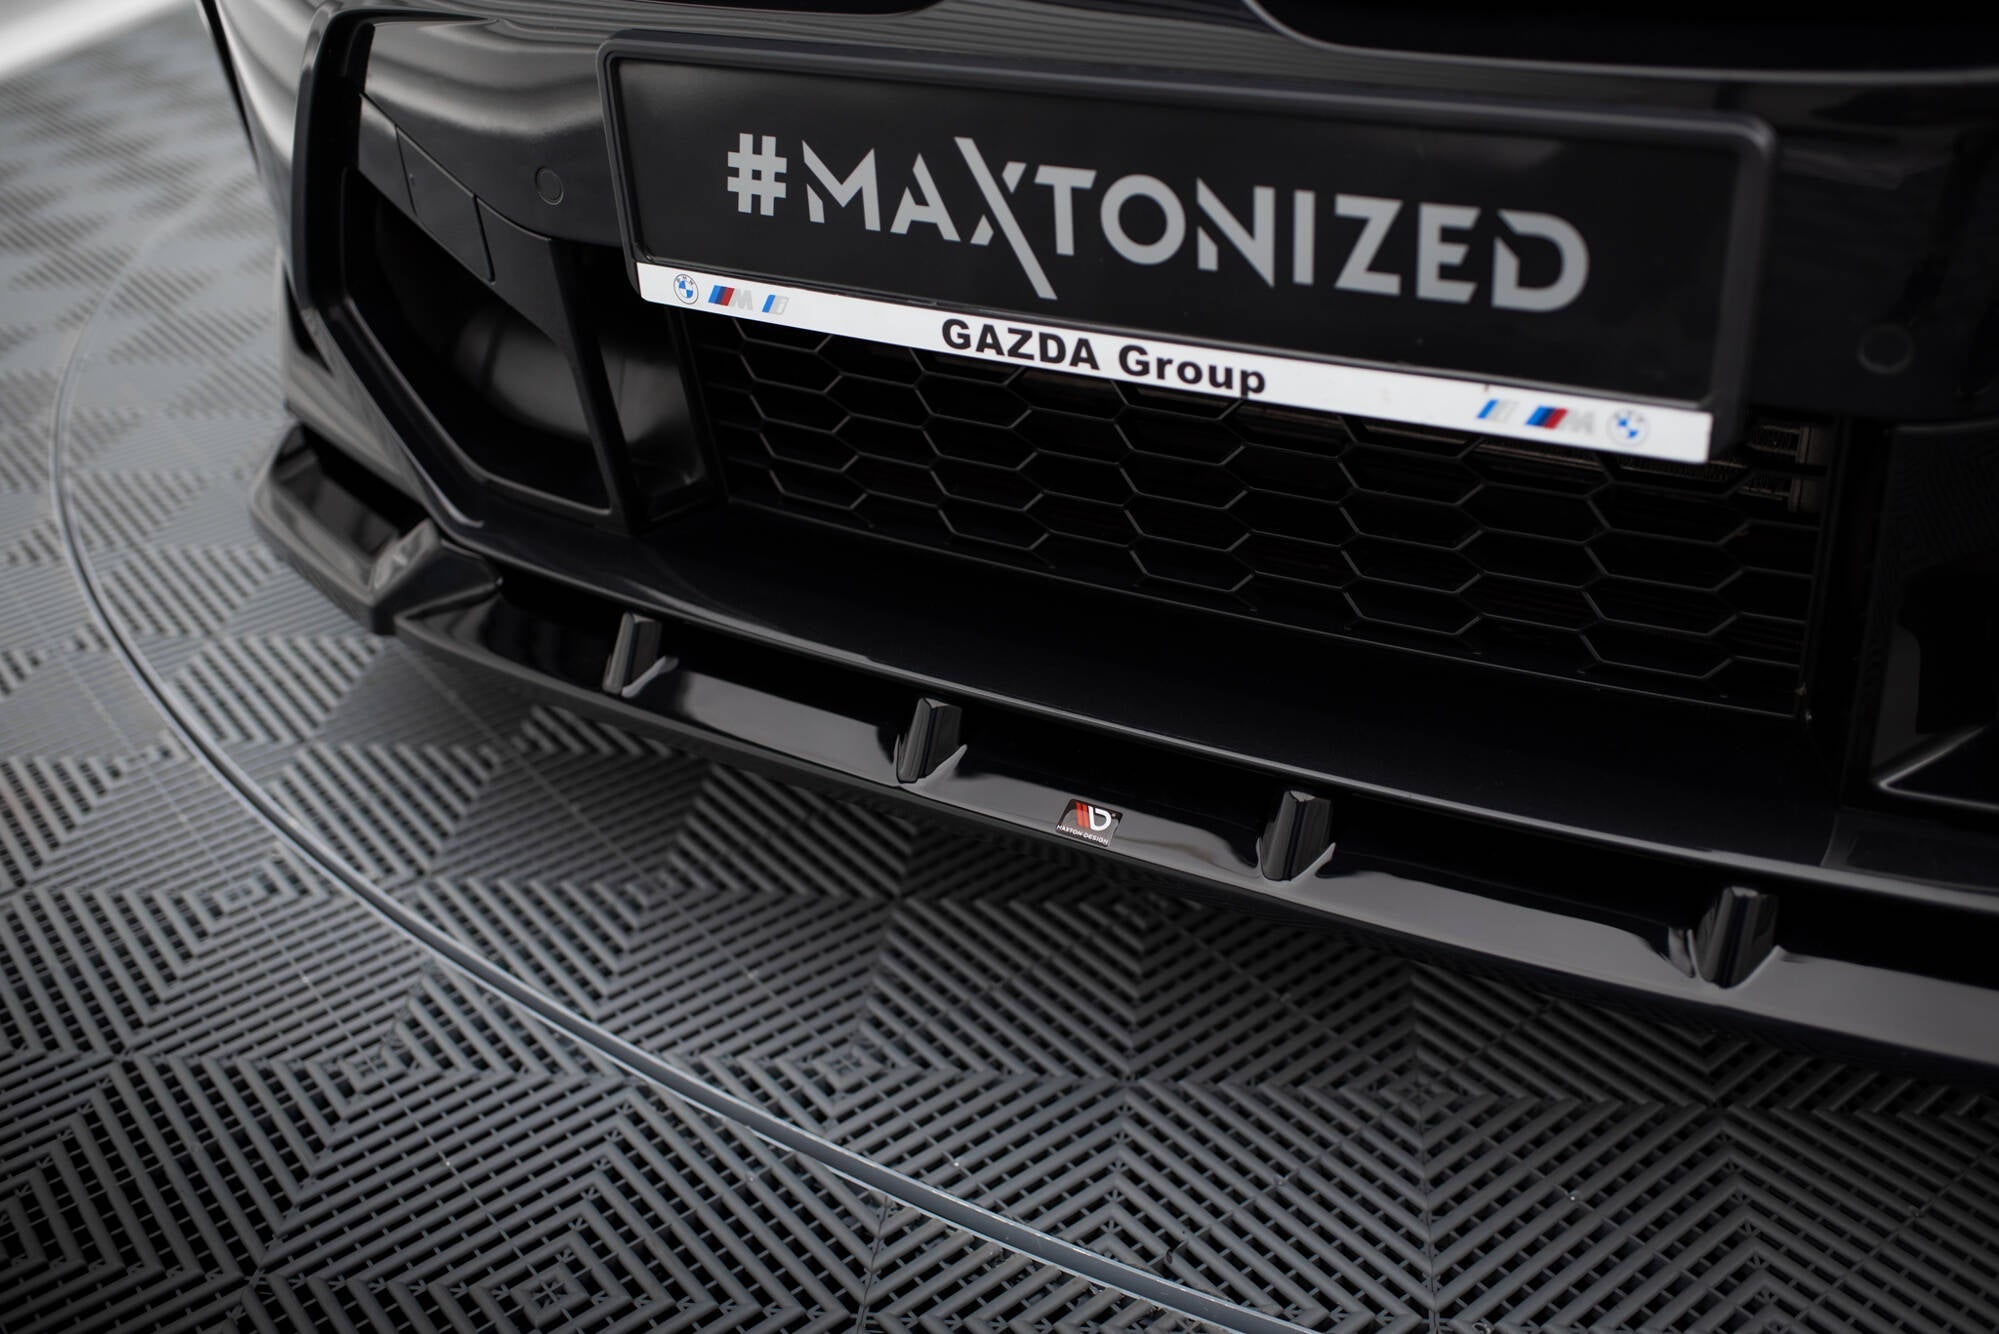
Installing a body kit is an exciting way for car enthusiasts to completely transform their vehicle, whether you're adding side skirts, lip kits, or even a full set of front and rear bumpers.
However, before diving into the installation process, it’s crucial to take the necessary steps to prepare your car. Proper preparation ensures that your body kit fits perfectly, enhancing both the car's appearance and performance. Skipping the preparation can lead to poor fitment, damage to the car body, or even shorten the lifespan of the body kit components.
In this guide, we’ll walk you through all the necessary steps to prepare your vehicle for installing a body kit, whether you're doing it yourself or going the professional route.
Clean Your Car Thoroughly
Before installing a body kit, the first step is to ensure your car is completely clean.
Dirt, grime, and even small particles can affect the installation process, causing poor adhesion or alignment of body kit components. Kits typically include front and rear bumpers, side skirts, and spoilers, all of which need a clean surface to ensure a perfect fit.
Start by washing the car body thoroughly, focusing on the areas where the body kit will be attached. Pay special attention to the fenders, bumpers, and skirts.
After washing, ensure the car is completely dry, as moisture can interfere with the bonding of materials like ABS plastic, fiberglass, or carbon fibre.
A clean, dry surface is essential for a smooth installation and to prevent dirt from getting trapped between the car body and the kit.

Inspect for Existing Damage
Before installing a new body kit, it's essential to inspect your car for any existing damage. This includes checking for dents, scratches, or any imperfections on the car body that could interfere with the installation process.
Installing a body kit on a damaged surface can lead to uneven fitment and potentially worsen the car’s appearance.
Focus on areas like the front bumper, rear bumper, side skirts, and fenders, as these are key spots where the body kit components will be attached.
If you find any damage, it's best to fix it before moving forward. Sanding rough spots or filling small dents will ensure the kit fits snugly and looks flawless once installed.
Taking this step will help achieve the perfect fit and enhance the overall style and performance of your car.
Gather the Necessary Tools
Having all the necessary tools ready is crucial for a smooth body kit installation. Whether you’re installing a lip kit, wide body kit, or rear bumpers, the right tools ensure a secure and precise fit.
For a DIY installation, you’ll need basic tools like screws, bolts, a heat gun, and sanding equipment. These tools help with attaching the body kit components to your vehicle and ensuring everything stays securely in place.
For more complex kits, like those made from carbon fibre or ABS plastic, you may need specialised tools to avoid damaging the materials. Professional installers typically have all the tools and expertise needed to handle body kit installation without a hitch, which can be a great option if you want to ensure everything is done perfectly the first time.

Test Fit the Body Kit
Before permanently installing the body kit, it's a good idea to perform a test fit. This step ensures that all the body kit components, such as side skirts, front and rear bumpers, and spoilers, align perfectly with your vehicle.
A dry-fit will help you spot any potential issues with the fitment or alignment, allowing you to make adjustments before you commit to the final installation process.
During this stage, carefully position the parts without permanently attaching them. Look for gaps or misalignments between the body kit and your car's body and adjust accordingly.
In most cases, a bit of sanding or minor modifications may be necessary to achieve a perfect fit. Skipping this step could result in an uneven installation that affects both the look and performance of your car.

Protect Your Car’s Paint
During the body kit installation process, protecting your car’s paint is crucial. Improper handling of components like side skirts, bumpers, and spoilers can lead to scratches or chips in your car’s paint, especially during alignment or fitting. To avoid damage, use masking tape around the areas where the body kit will be installed. This will shield the paint from potential scratches and help you avoid costly touch-ups.
For certain body kit materials like carbon fibre or ABS plastic, extra care should be taken during installation. Using tools like a heat gun for fitting can help mold the components to the car body without damaging the paint.
Additionally, if your new body kit needs to be painted before installation, make sure this is done in a clean, controlled environment to ensure a smooth and durable finish.
Decide Between DIY or Professional Installation
Once your car is prepped and ready, the next step is deciding whether to handle the body kit installation yourself or to leave it to a professional.
Installing a body kit on your own can be rewarding, especially if you're a hands-on car enthusiast. However, it’s important to have a good understanding of the installation process, necessary tools, and potential challenges, such as aligning side skirts, bumpers, or fitting more complex components like wide body kits or spoilers.
For those who want to ensure a flawless installation with no risks, professional installation is a smart choice. Professional installers not only have the expertise but also access to high-quality tools and materials, ensuring that your body kit is securely installed, with a perfect fit and no damage to your vehicle. Plus, many professional services offer warranties, providing extra protection for your investment.

Conclusion: A Successful Installation Starts with Preparation
Preparing your car for a body kit installation is the key to a successful transformation. From cleaning the car body thoroughly to gathering the necessary tools and test-fitting the body kit components, every step plays a crucial role in ensuring a perfect fit and long-lasting results. Whether you’re installing the body kit yourself or leaving it to professionals, proper preparation helps prevent mistakes and protects your vehicle’s appearance and performance.
By following these steps, you’ll be well on your way to enhancing your car’s style and improving its performance. Whether you opt for wide body kits, lip kits, or new front and rear bumpers, your car will be ready for its complete transformation.
How AusBody Works Can Help with Professional Installation
At AusBody Works, we understand the importance of a flawless body kit installation. Whether you’re adding a lip kit, side skirts, or a full set of front and rear bumpers, our team is equipped with the tools and expertise to ensure that your body kit components are installed securely and precisely. We know that the installation process is crucial for achieving the perfect fit and enhanced performance of your vehicle.
Our professional installers take care of every detail, from aligning each body kit part to protecting your car’s paint during the process. With years of experience working with a variety of body kits, including wide body kits and custom designs, we can help bring your vision to life with minimal risk and maximum results. Plus, with our high-quality materials and expert techniques, we ensure that your car’s appearance is transformed while improving its performance and longevity.
Choosing professional installation with AusBody Works means peace of mind, knowing your kit is installed perfectly the first time, saving you from costly mistakes and ensuring the ultimate driving experience. Get in touch to see how we can help you.


